Now I've been working slowly on these guys for a little while - but by that I mean I simply remodelled two of the legs and made about 3 of the bases - so there was a lot of the models that had to be done this week. I really wish I did spend the past few weeks on them as I had plenty of leg spares and what not to faff around with reposing, but it was not to be. I did have a "vision" to to speak with the squad and I wanted to achieve it as much as possible. I wasn't far off - but I think my vision might have been a bit ambitious for my conversion skills - so in short time it wasn't bad.
I figure what I can do is a "stage by stage" WIP of these gents, so todays stage one is simply "pre-painting" - each individual and how I wanted to portray the model.
Now to the squad's - The vision I spoke of was to have a more dynamic posing of the command squad - the other 4 squads of terminators are quite "static" what with being just on the bases plus being magnetised there is not much you can do beyond whats already been moulded. Belial himself is quite dynamic so I wanted something to fit with him, and tell a sort of story with the models - make them look quite cohesive - as if they are holding the ground against a barrage of oncoming hordes or nasties.
So on to the dudes!
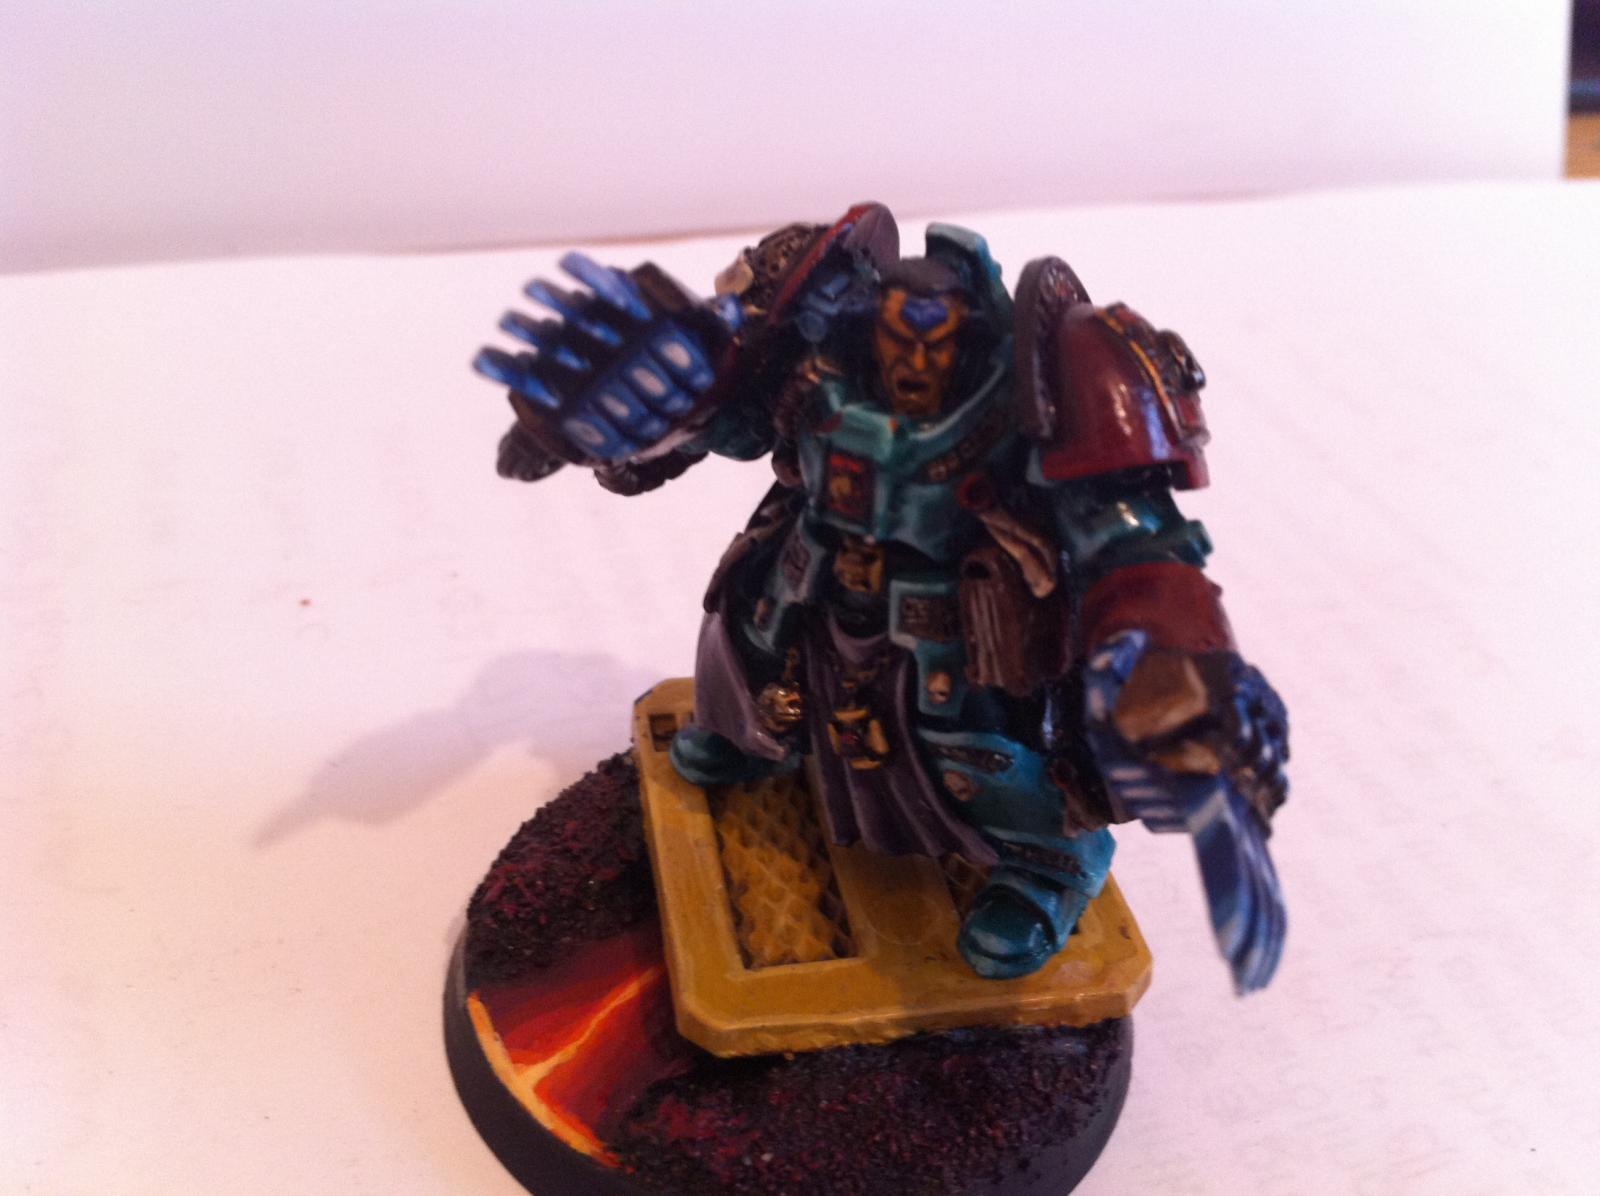
The Cyclone Missile Launcher
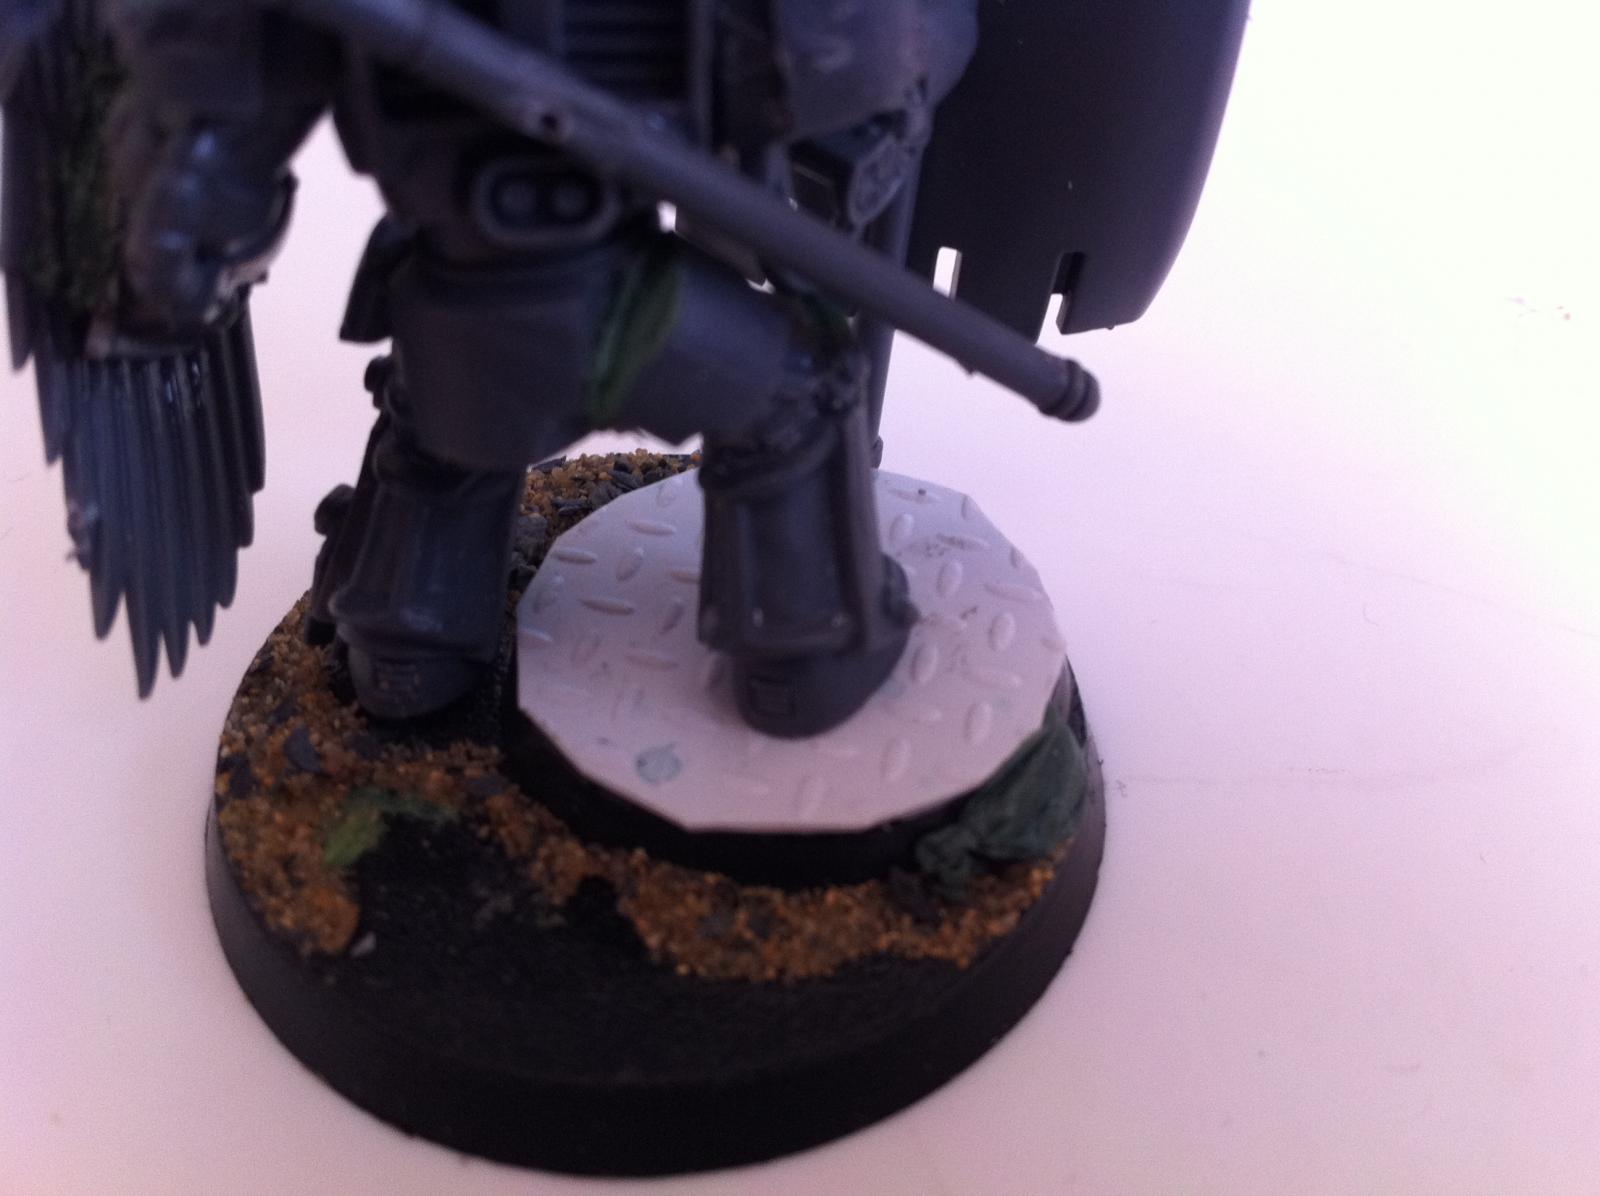
First off I started from the base - I wanted a sort of platform (I am thinking either a old bunker or the insides of a wrecked raider or even gun ship etc..) that's dissolving into the lava. The CML I felt is perfect for this base as he's teetering up to the edge to get a better shot.
This is the first time I've green stuffed lava and I'll see how it comes out - I might have to file/sand some of it down to smooth it out - but I used this as an opportunity to get some lava spitting out - that will be painted white hot.
The CML itself I want to stand out - so I'll be marbling it! (Its also magnetised - just in case I want to run this unit as normal TH/SS unit in the future!)
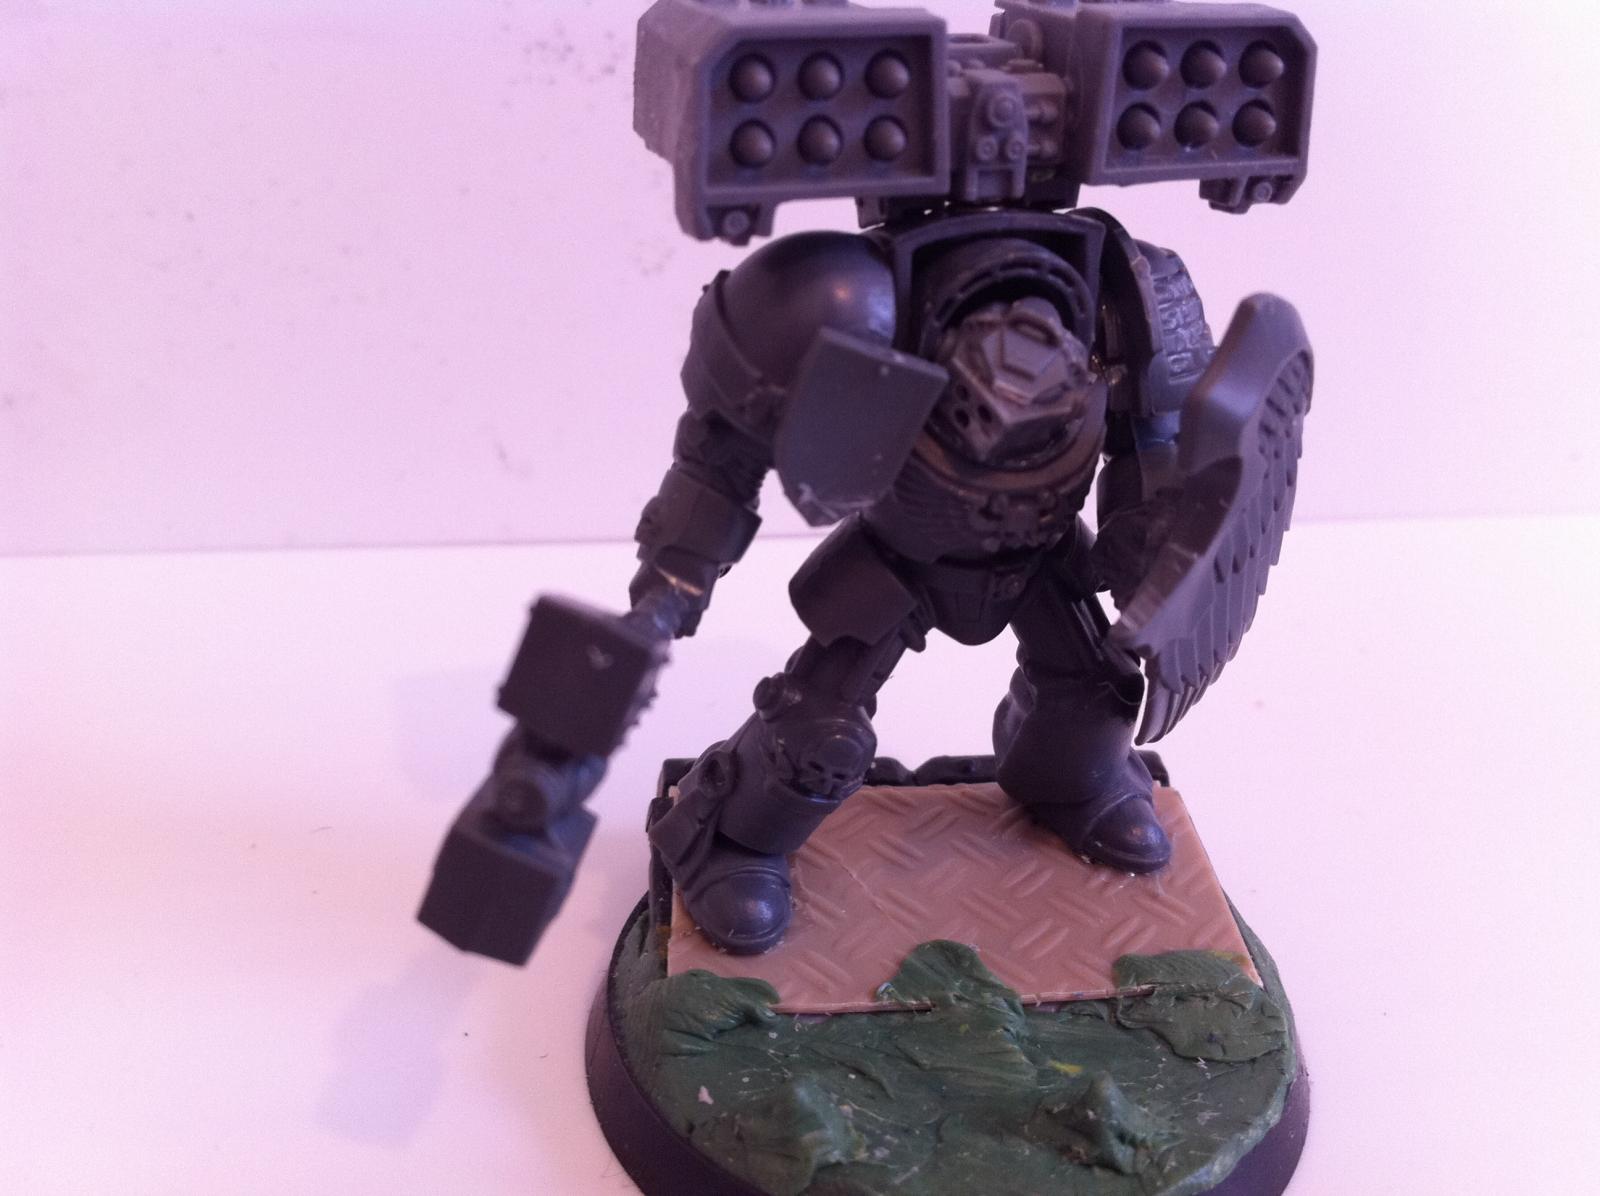
TH/SS Terminator -
Out of all the terminators I was a little disappointed (or rather not as pleased with it - but its growing on me) with this one - I've fractionally altered his Thunder Hammer - but the original intention was for it to be horizontal across his chest - but it didn't look right - especially once I had the shields in place. So I opted to just have him looking like he's standing his ground "protecting his brothers banner".
TH/SS Apothecary:
Again not much done to this model - I took the chancel to use the Paladins Narthecium Gene Seed Extractor jobby and to keep him super special he's also sporting a demon hammer from the same kit rather than TH/SS - this again keeps him a little unique. Painting wise I am contemplating a white helmet - which will set the blue eye glow out quite well I think.

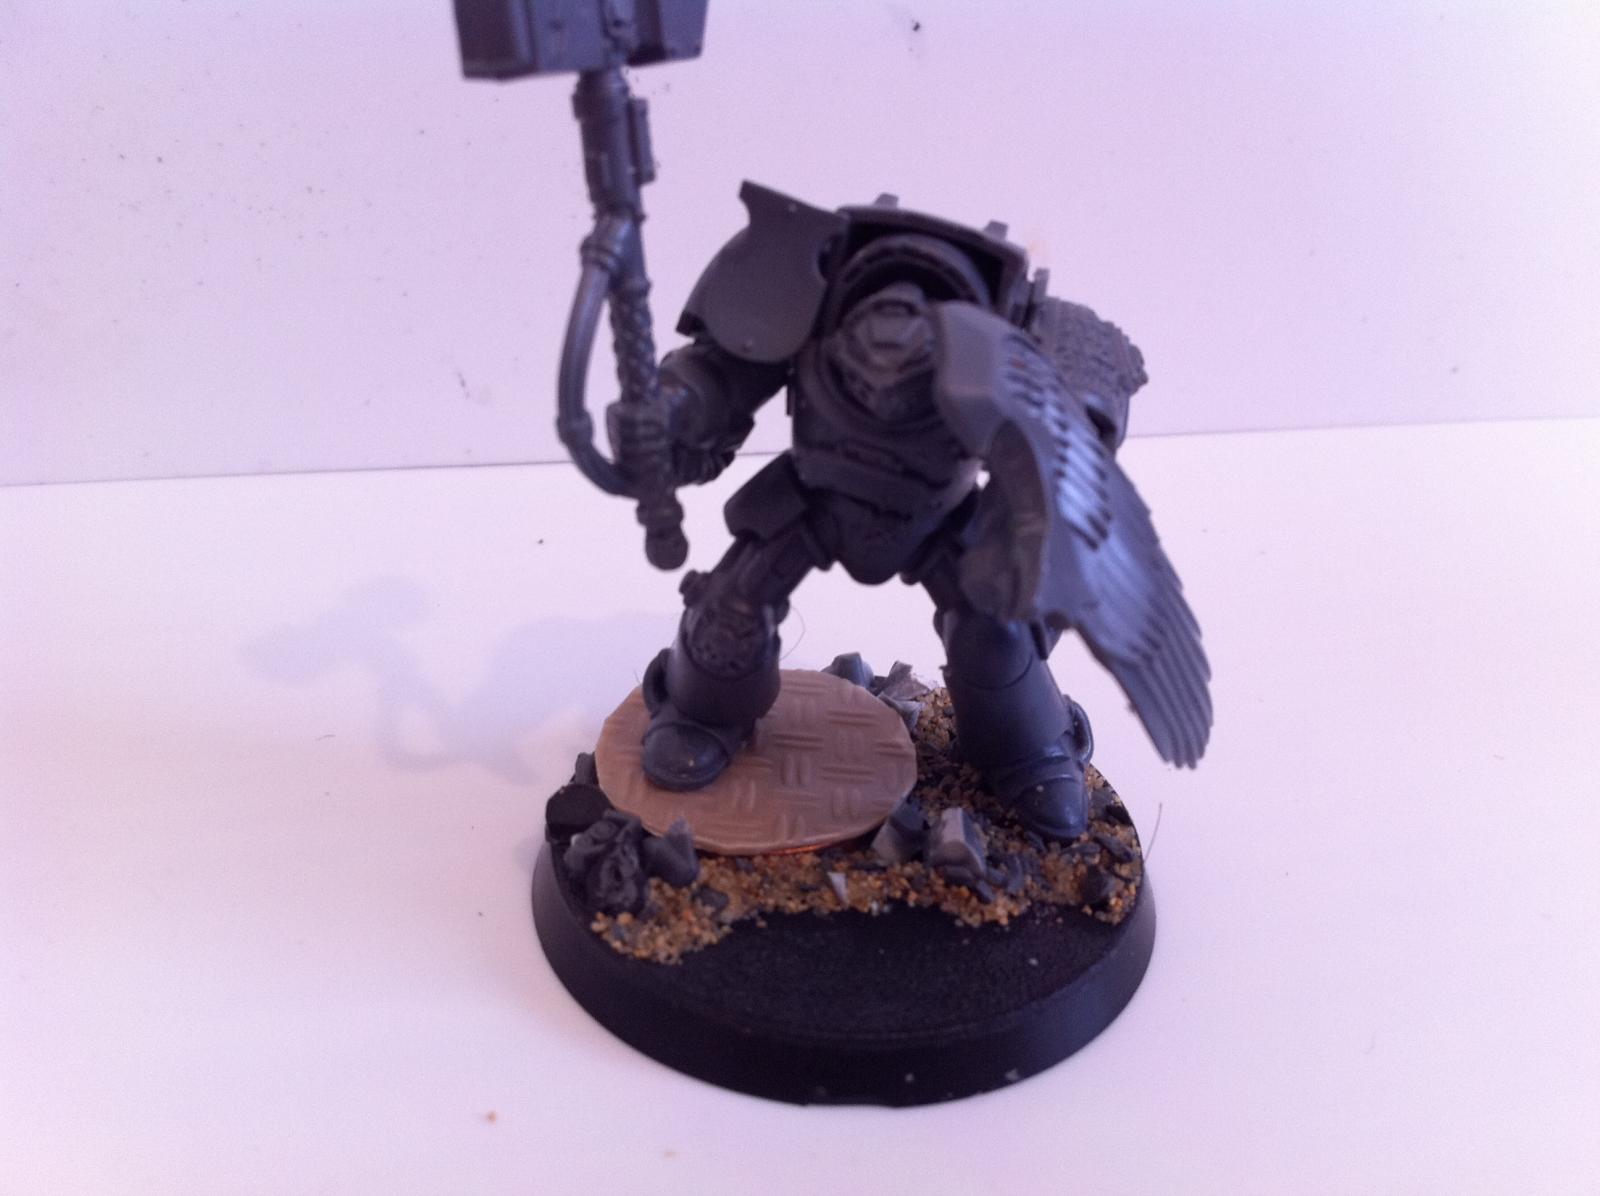
TH/SS Banner Bearer:
When I added this dude in I actually thought about having a LC in the unit (now I come to think of it - the guy I wasn't happy with could really have been magnetised - oh well) but I also like the idea of TH's with 4 attacks on the charge and 3 when being charged! - its not the best use of 25 points - but lets face it - where there are no such things as 5 point upgrades and what not - its not bad.
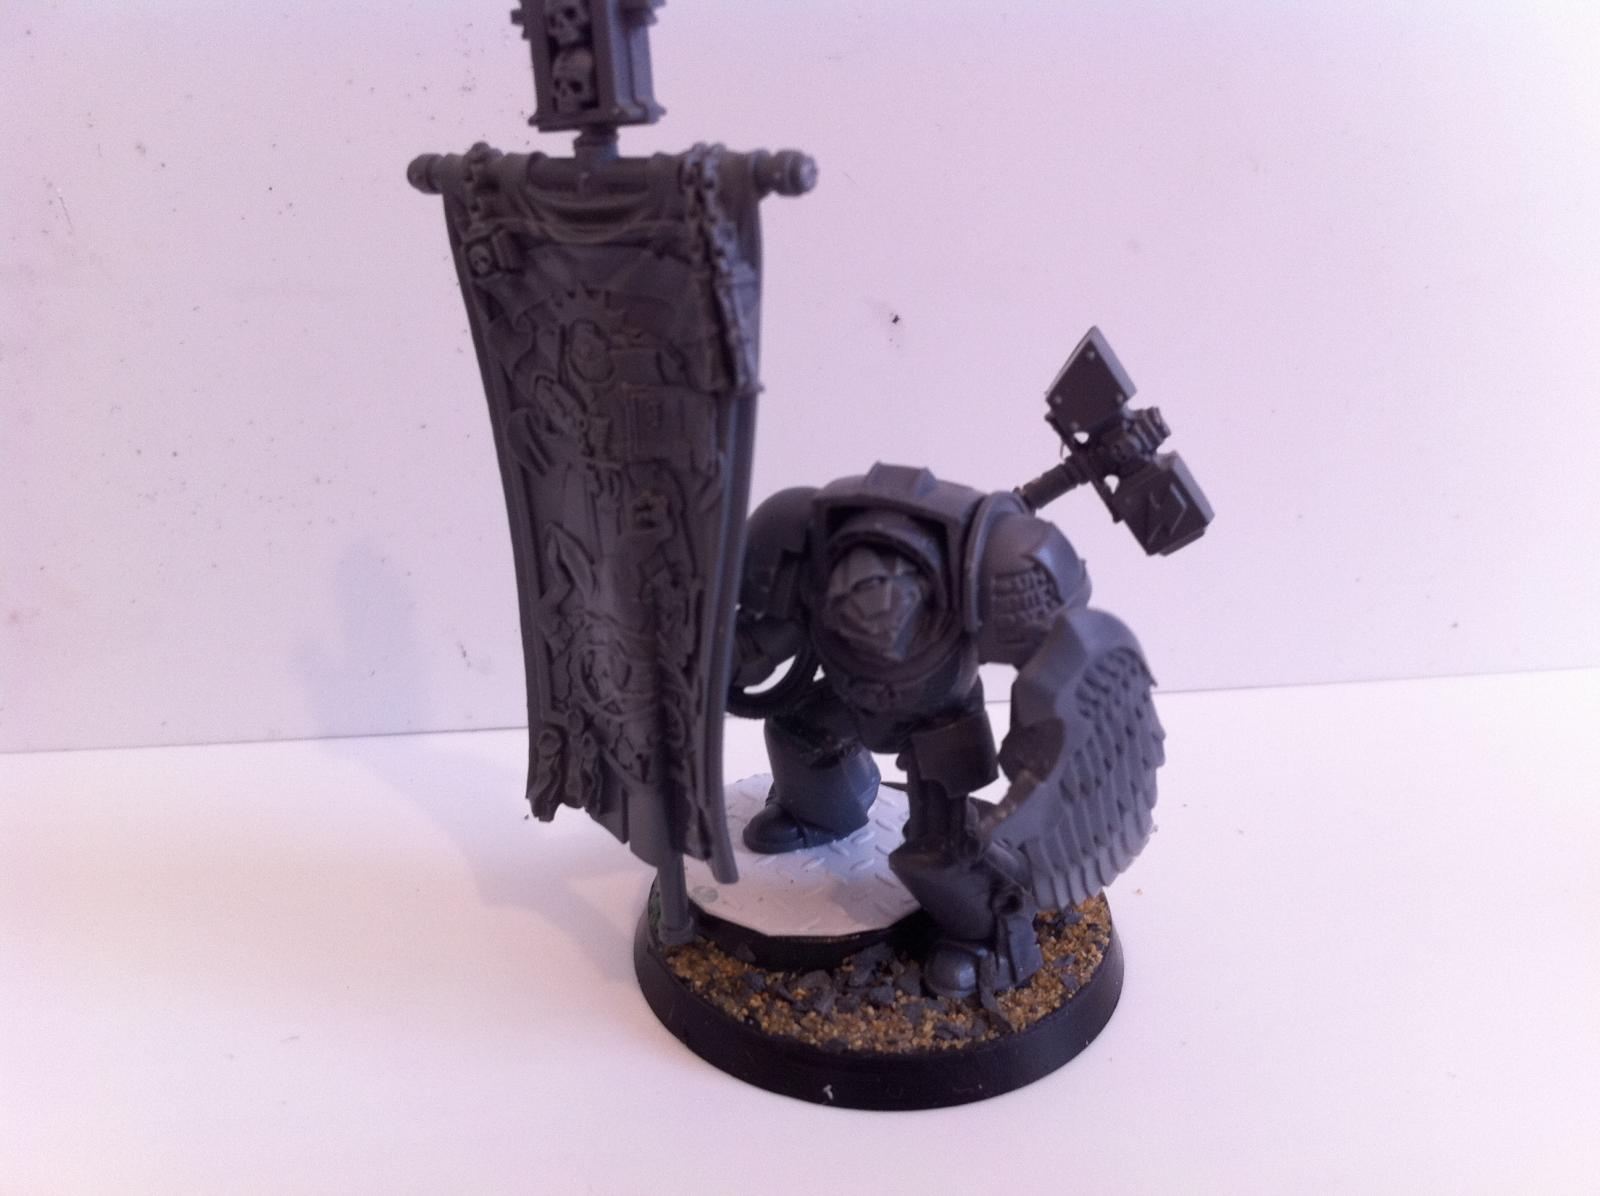
This guy has actually had a lot of work on him. His legs are completely repositioned - to make him look like he's standing strong on a mount.
The shield is the same way I did my old ones (cutting down a normal shield until the hand is left then simply greenstuffing/gluing the wing in place). The hammer is a GK Halberd - the top sliced off and replaced with a normal Thunder Hammer top. The banner is the entire banner arm from the GK box as well. One tip is to pin things - the banner arm is pretty secure but the banner top is not - so I used a huge pin to make sure that doesnt go anywhere. I thought about making a strapping for the TH on the back - but I got my brothers ruling (the guy that got me into GW but hasn't touched it since about 1992) and he thought it looked good as is (electro magnetic harness on the back ok?!)
TH/SS Sergeant:
While they don't really have Sarge's in the Deathwing (unlike other terminator unit's) I like the idea of denoting him out - so he might get a blue helmet (with green glowing eye's) - with that he'd be the 1st Sergeant of the 1st Company since none of the others are marked out. If not - its just a cool pose for a normal TH/SS dude.

He's used the GK Terminator legs - again to help set him out from the rest - and he's the only one in a truely dynamic pose - for the same effect once again. I did have to cut off his toes and reposition them downwards so it didn't look silly - other than that it required just a little bit of green stuff reposing of the likes of the shield arm. The sarge - along with the apoth and "joe nobody" all are using GK storm bolter arms for storm shield arms - it gave me some nice positioning options opposed to the more static TH/SS ones.
Bases:
These were quite simple - "grated" plasti-card (same stuff Atreides uses a lot on his Hydra weapon mounts) was the feature - then used things like MKI rhino hatch, plastic card tube, 25mm base, a 1p coin, and even sprues to make up the "raised sections". My normal sand/slate mix was used - but in combination with some broken sprue parts to add a bit of extra texture to the base. At this stage I think they look decent - hopefully I can paint them quite nicely - looking at dull rust tones as to look good but not draw attention away from the model - paired with the usual lava of my army.
Overall
 |
| Hopefully I achieved the effect of the unit looking quite dynamic + cohesive at the same time, each has its own thing, but sticks together as a unit as well. I could have maybe extended this theme through the bases a bit better though. |
I am pretty pleased with the unit - they are just getting that little bit of drying time in (let the GS set some what) before I prime and get the base coat on tonight. I am undecided to what method I'll use - whether to factory line them or paint a single model at a time (at least the armour). I am leaning towards 1 at a time as I'll be more careful / attentive on the armour - and then do the detailing at the same time as its "less work".
Looks really good mate, love the 'Sergeant', think you have a great pose there - dynamic and strong.
ReplyDeleteahh, the pictures finally decided to work for me, and i have to say that they look fantastic. the banner bearer is my favourite, mainly due to the excelent leg repositioning work. personally i'd have given him a hammer in the hand and not bothered with the shield, but he looks great the way he is. cant wait to see them painted.
ReplyDeleteCheers Andy
ReplyDeleteI thought about the hammer in the hand actually - but I wanted to give that look of he's "valiantly defending the hill" sort of thing! Also the shields blue really contrasts well on the armour so I wanted to have it in the front (I was going to strap it to the back).
I've painted up the banner and a couple of the dudes (sans major detailing) looking pretty decent so far.
The terminators look great. Good luck on getting the painting done, and I'm sure they'll do you proud at Blog Wars.
ReplyDeleteRathstar
Cheers Rathstar
ReplyDeletePainting thus far gone well - 2 models down in terms of amour / shields / thunder hammers - pretty pleased though need to go back and add some shading in on the models.
On a side note - while bored (waiting for a wash to dry) I figured out how I want to do my GK Ghost Knights (I love Mordrak plus I think the Ghost Knights are PERFECT for the old school GK models) - and with that found what might be the easiest/fastest way to pump out a some what decent looking "themed" army (ghost like) - its not the white w/ green wash - but actually a dry brush technique. Might use it to make my blood angel infantry so that I can actually run my mech BA's every so often without them all being grey :/
Yup - this technique is amazingly quick - 40 minutes = 5 models done to the point they just need some small details and basing. I could quite easily get my Mech BA on the table in like a week lol.
ReplyDeletehttp://www.bolterandchainsword.com/uploads/1306253464/gallery_56497_5996_1572599.jpg
Not good table top quality (yet) but that entire squad took 30 minutes to get to that stage, and all I need to do is add blue glow to the eyes and "power weapon" and do the bases and away I go - since I won't be taking DW to Brighton it presents Mech BA in various forms as a real contender as I dont want to rush my GK's (unless Airbrushing is really THAT easy to do and I can knock out 3 colour min to not get shafted on paint score).
Ahh well.
Who missed their Monday post spot!
um... that is the first step of my painted guardsmen... lol.
ReplyDeleteand probably me. i was at a funeral, which all things considered, is a pretty watertight reason :P
Ahh sorry to hear buddy.
ReplyDeleteYeah the technique is super simple - I've spotted a couple of stages I can add in to make them a bit more "beyond table top" via some washing and painted glazing/highlighting (depending on the speed you can either glaze highlights "blanche" style or have a bit more solid a paint/layering - both only add a few minutes to the total job - and would enhance the job quite a bit.
I am going to have a fiddle this weekend with an airbrush (the GW one unfortunately) if its any good I'll invest in a proper one.