Belial!
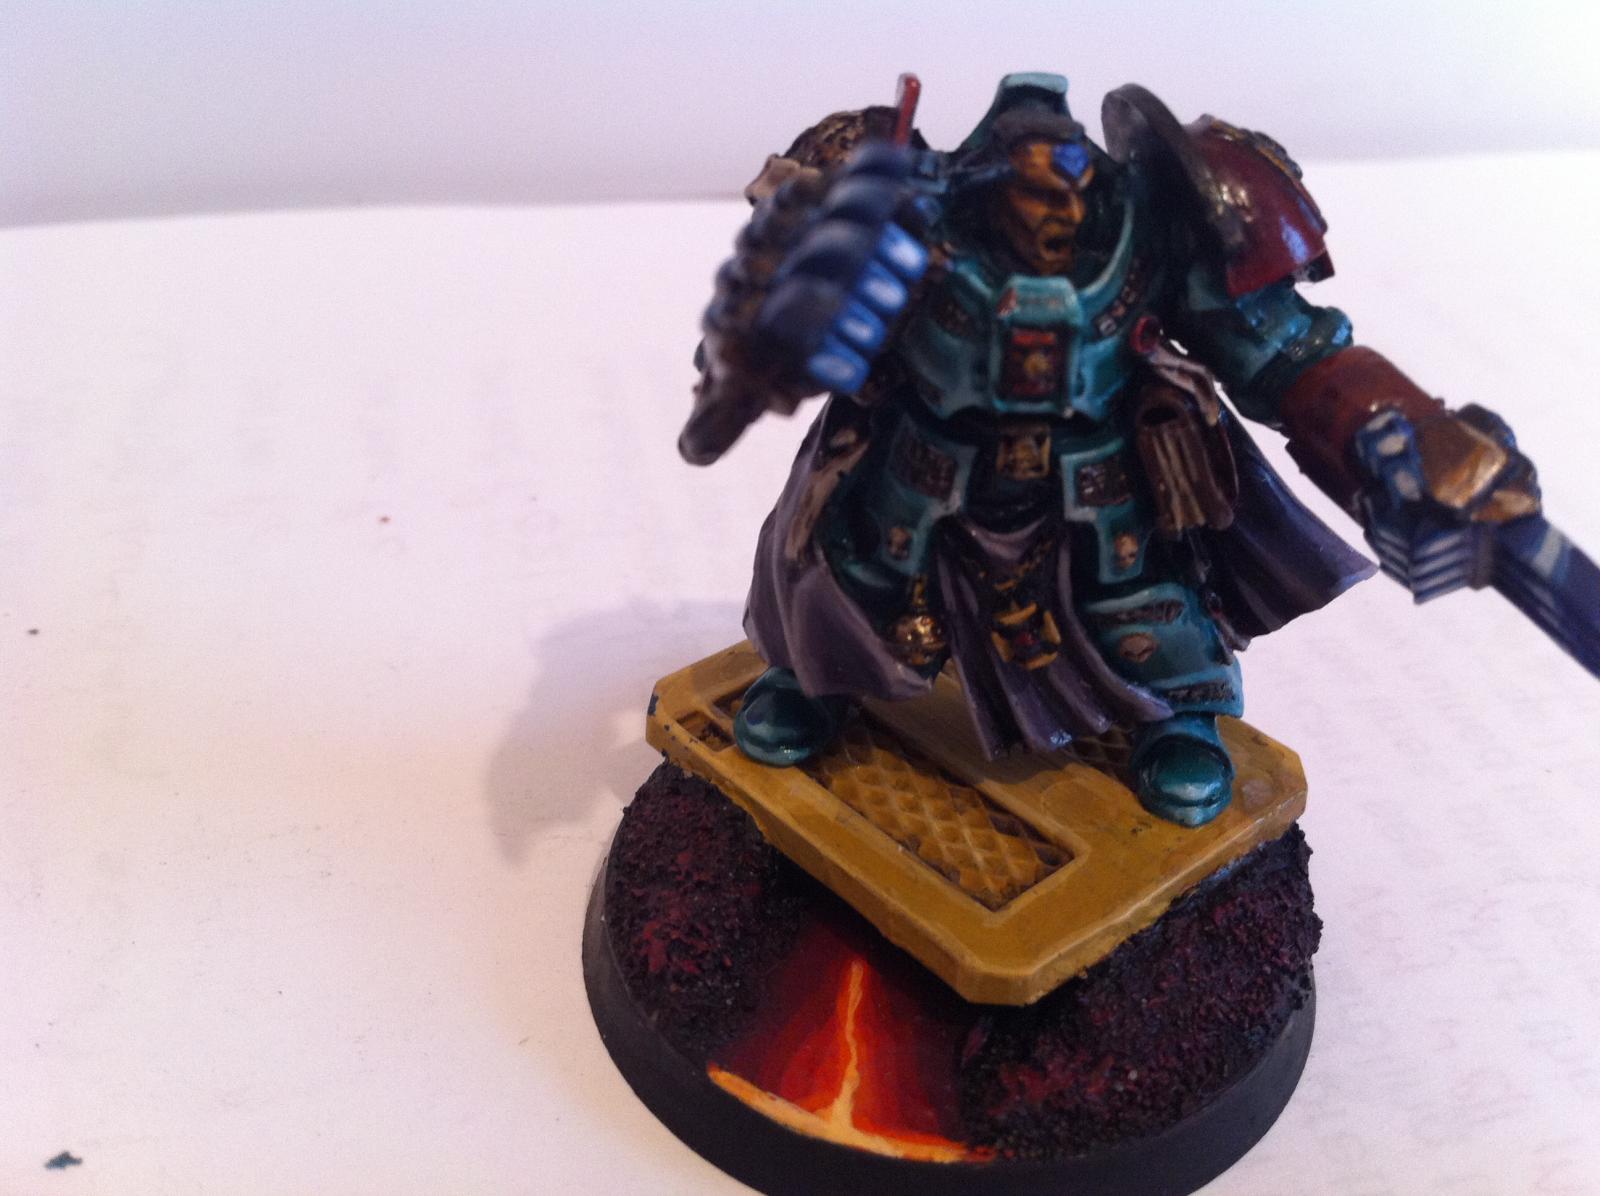
Really this is the only model in the army that actually shows some of my standard of painting, so I do sort of fling it in peoples faces when they look at my army closely lol. I do wish I spent a bit more time on him, I had a few more bits I wanted to execute on him, but I'll get another chance, as I plan to make a TH/SS version of him in the near future.
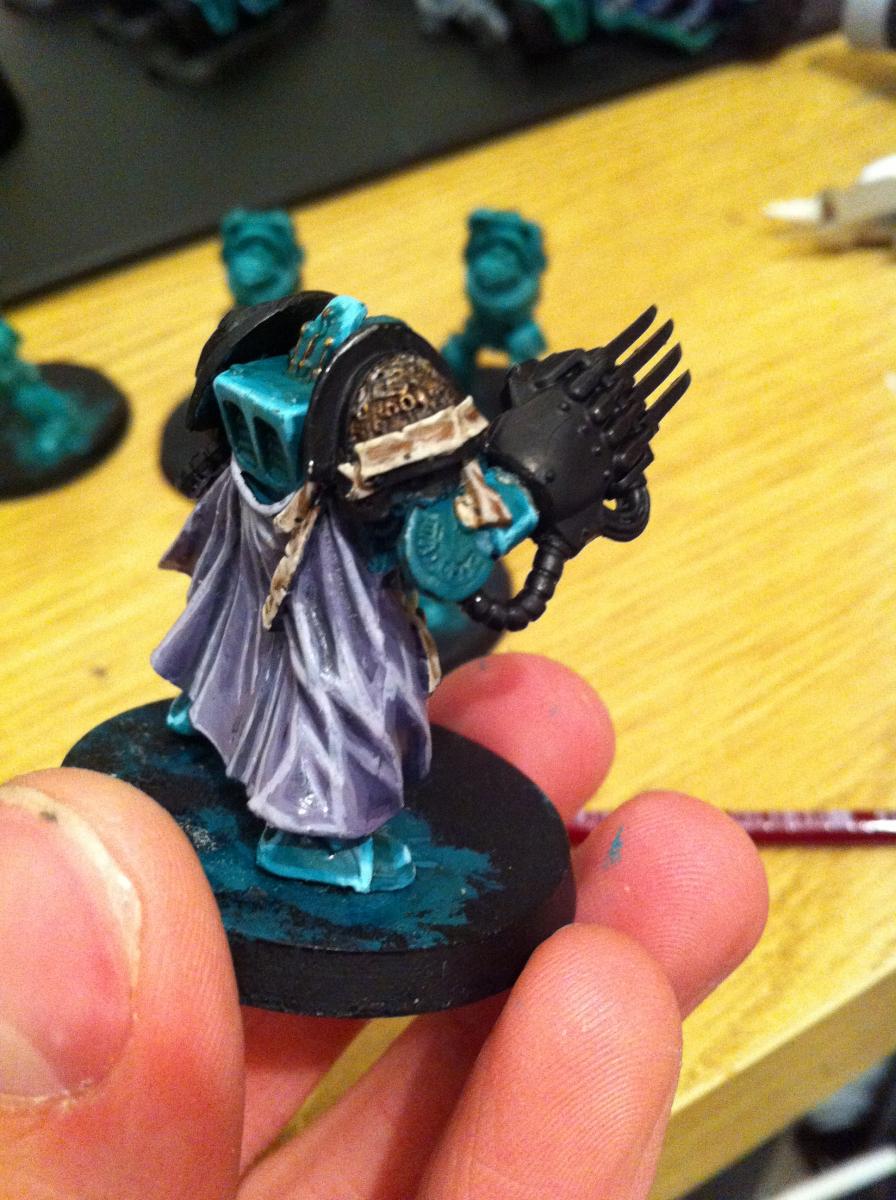
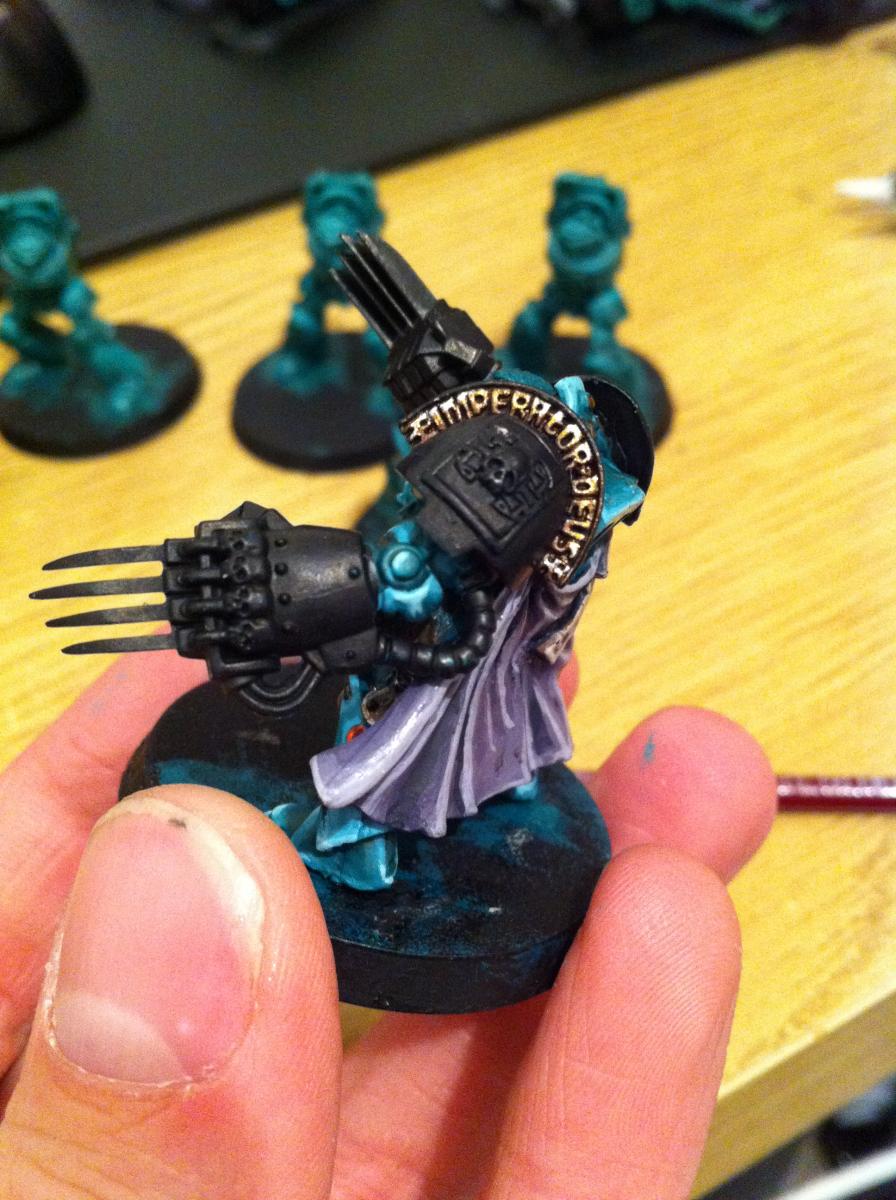
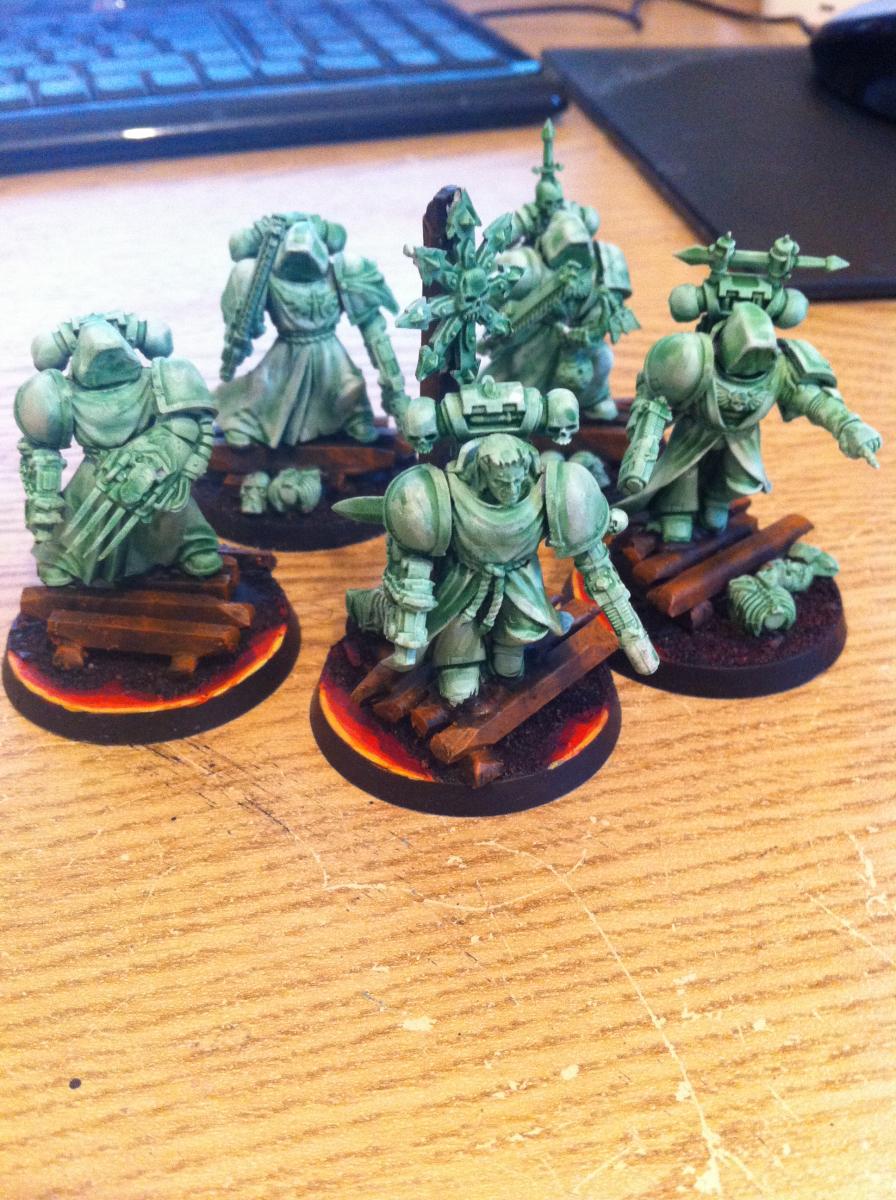
Anyway - this bit is picture heavy, which I'll let do the talking, along with a few captions! We'll get stuck in with plenty on Belial - my previous posts covered the conversion - it was quite a simple job, mid way through painting him though, that right hand LC did break, some sharp observers might notice it is actually slightly different by the end (as I didn't cut it and position it exactly the same!).
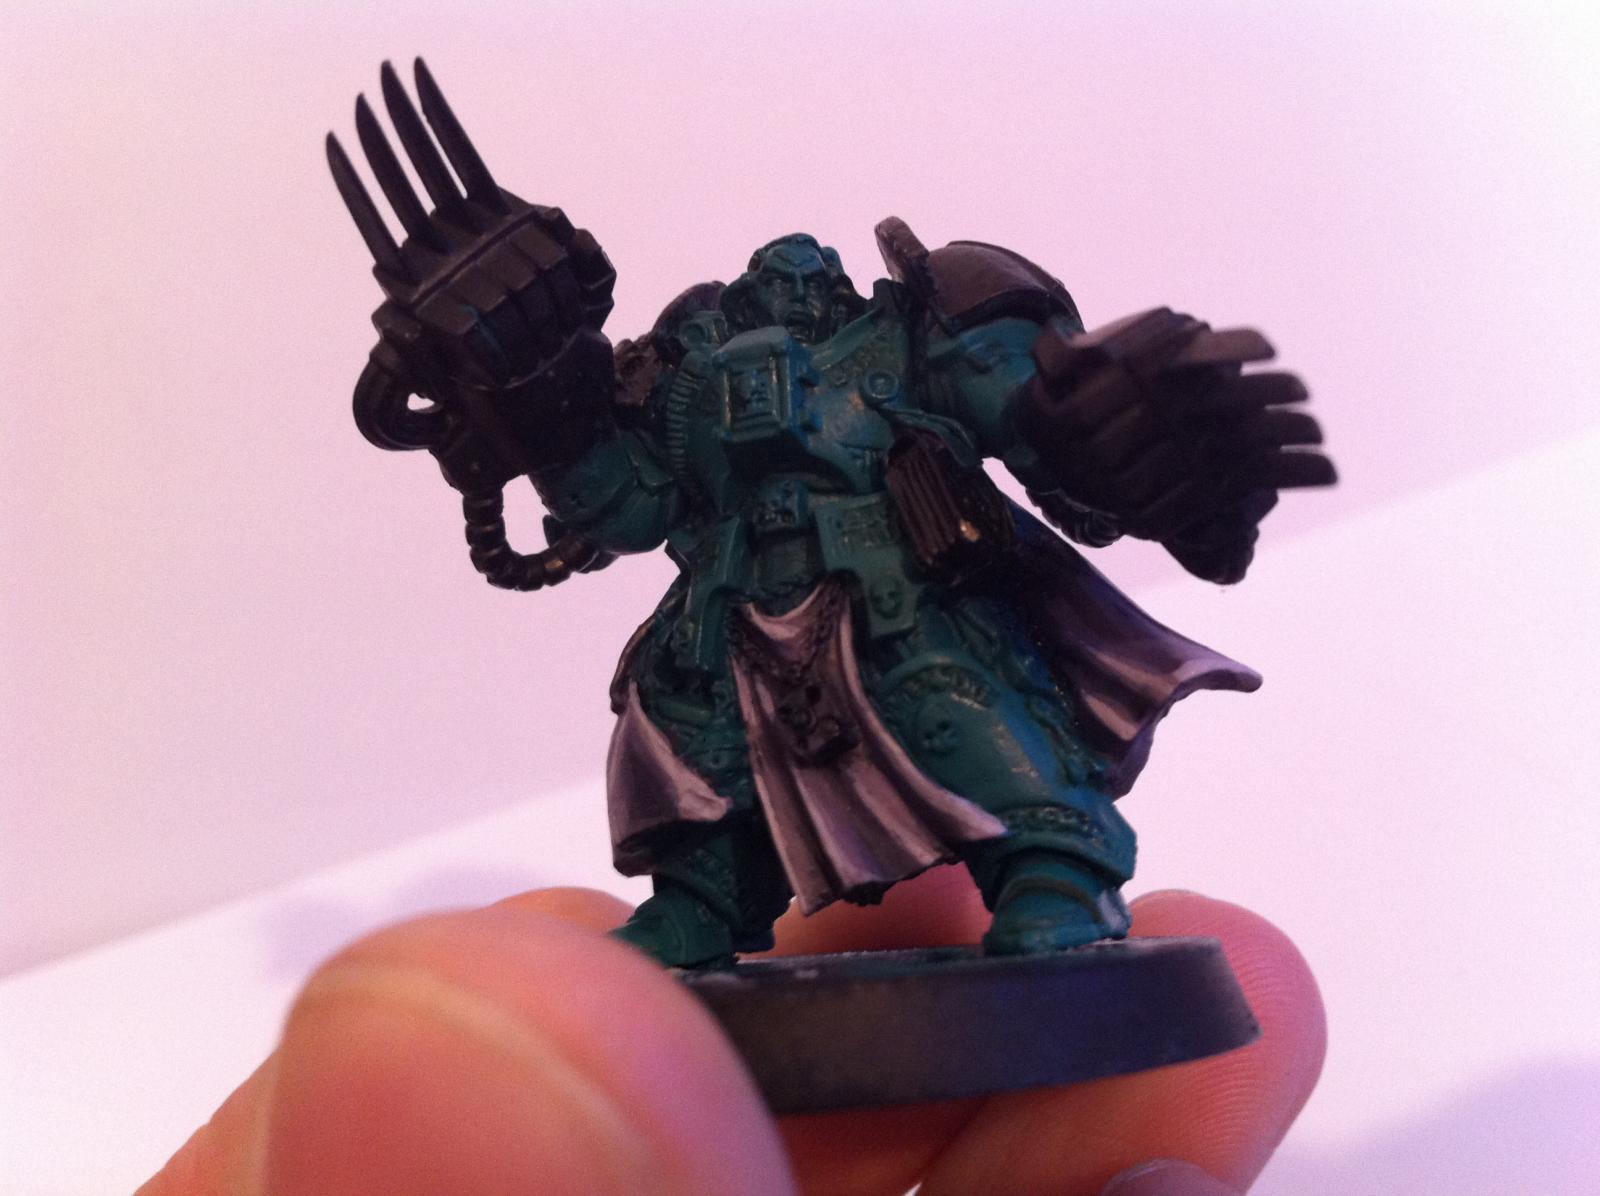 |
| Something I just love about this pose - looks like his is readying for the coup d'gras. |
 |
| I base coated the model as normal - I added a bit more Hawk Turquoise to Belial as I wanted him to stand out a bit more and be a bit brighter. As you'll see this does come to fruition. I started on the cloak as I really wanted it to dictate how I painted the rest of the model, and make it stand out, if I did the armour first I might have gotten a bit lax and taken an easy route (maybe a blue or red). Purple was a bit more challenging I felt. |
Next bit was moving on the armour - I wasn't going to use the 3/4 stage blend on this, and I wanted to work to a much brighter highlight - a near white rather than the greeny/blue white I use on the terminators - all part of wanting to make him stand out.
 |
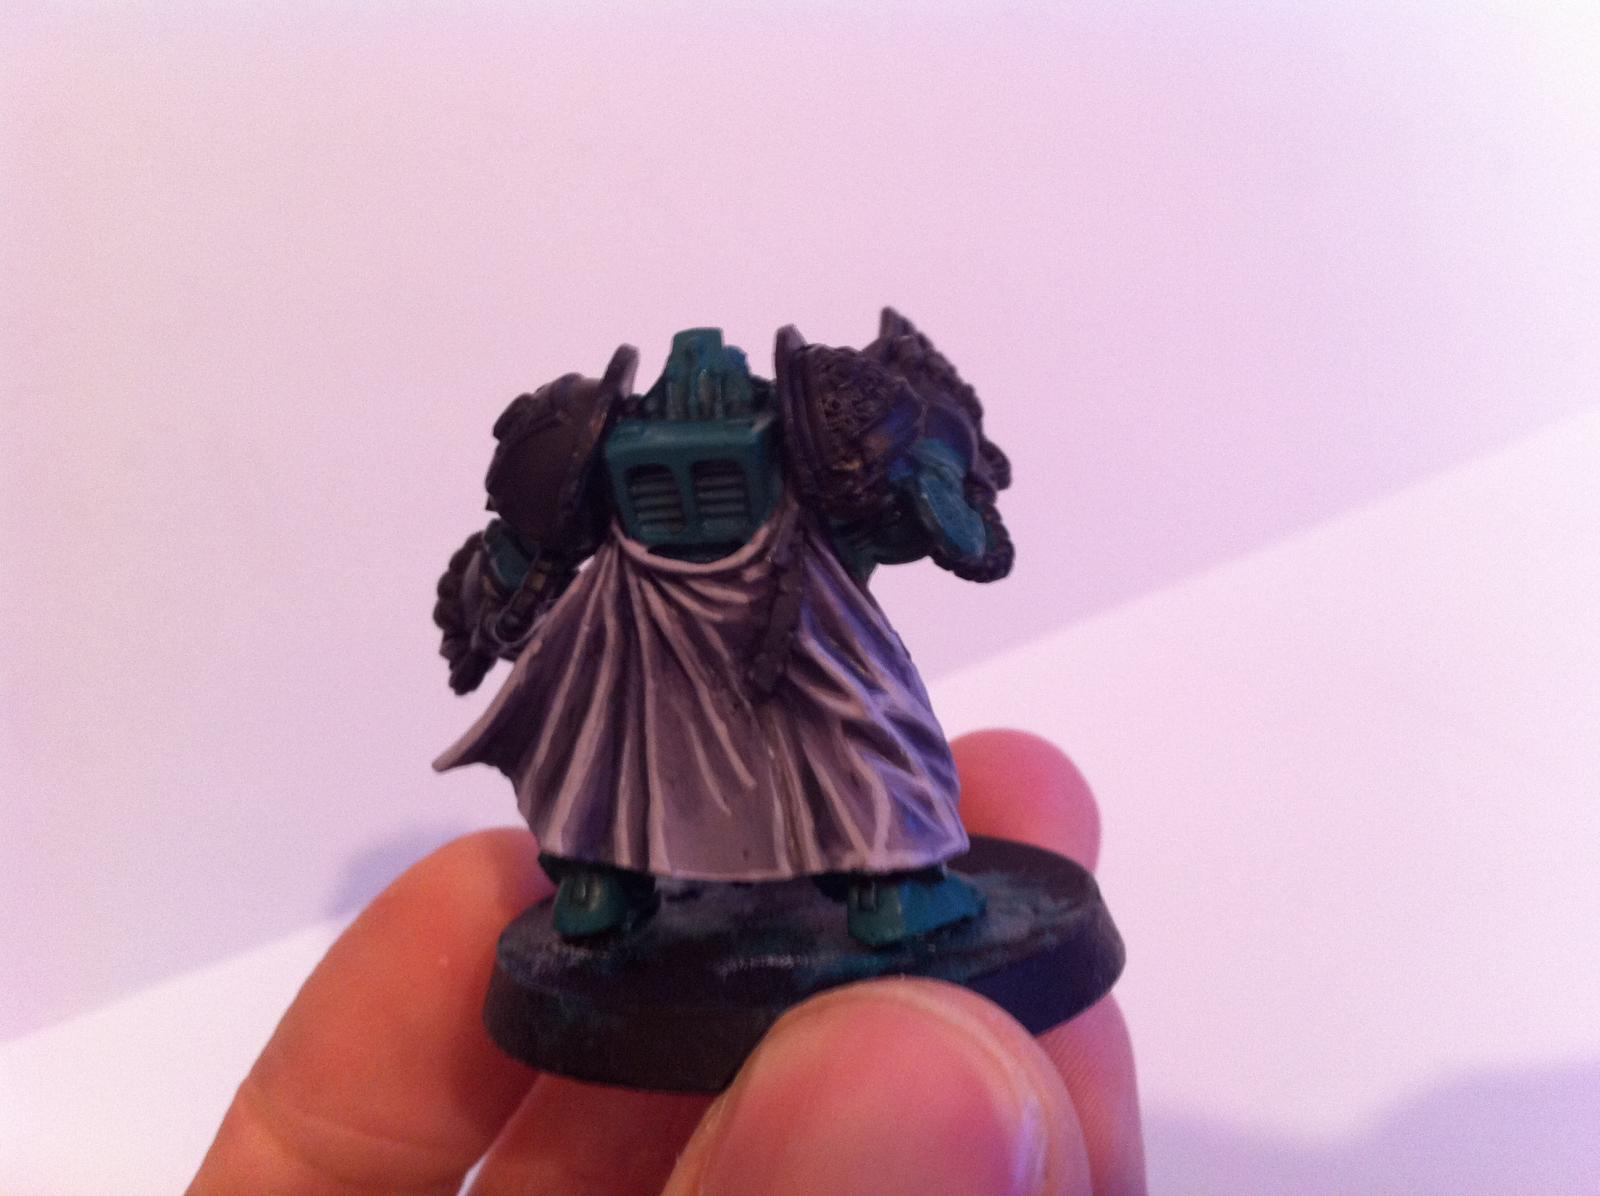
| At this stage I could tell it was coming together - the cloak and armour fixes together quite nicely. |
 | ||
| I do have a habit of highlighting edges, I plan to move along to really doing more directional highlighting in future, but for now I can live with these results as it does look effective. Put it this way - those heels shouldn't be that bright! |
 |
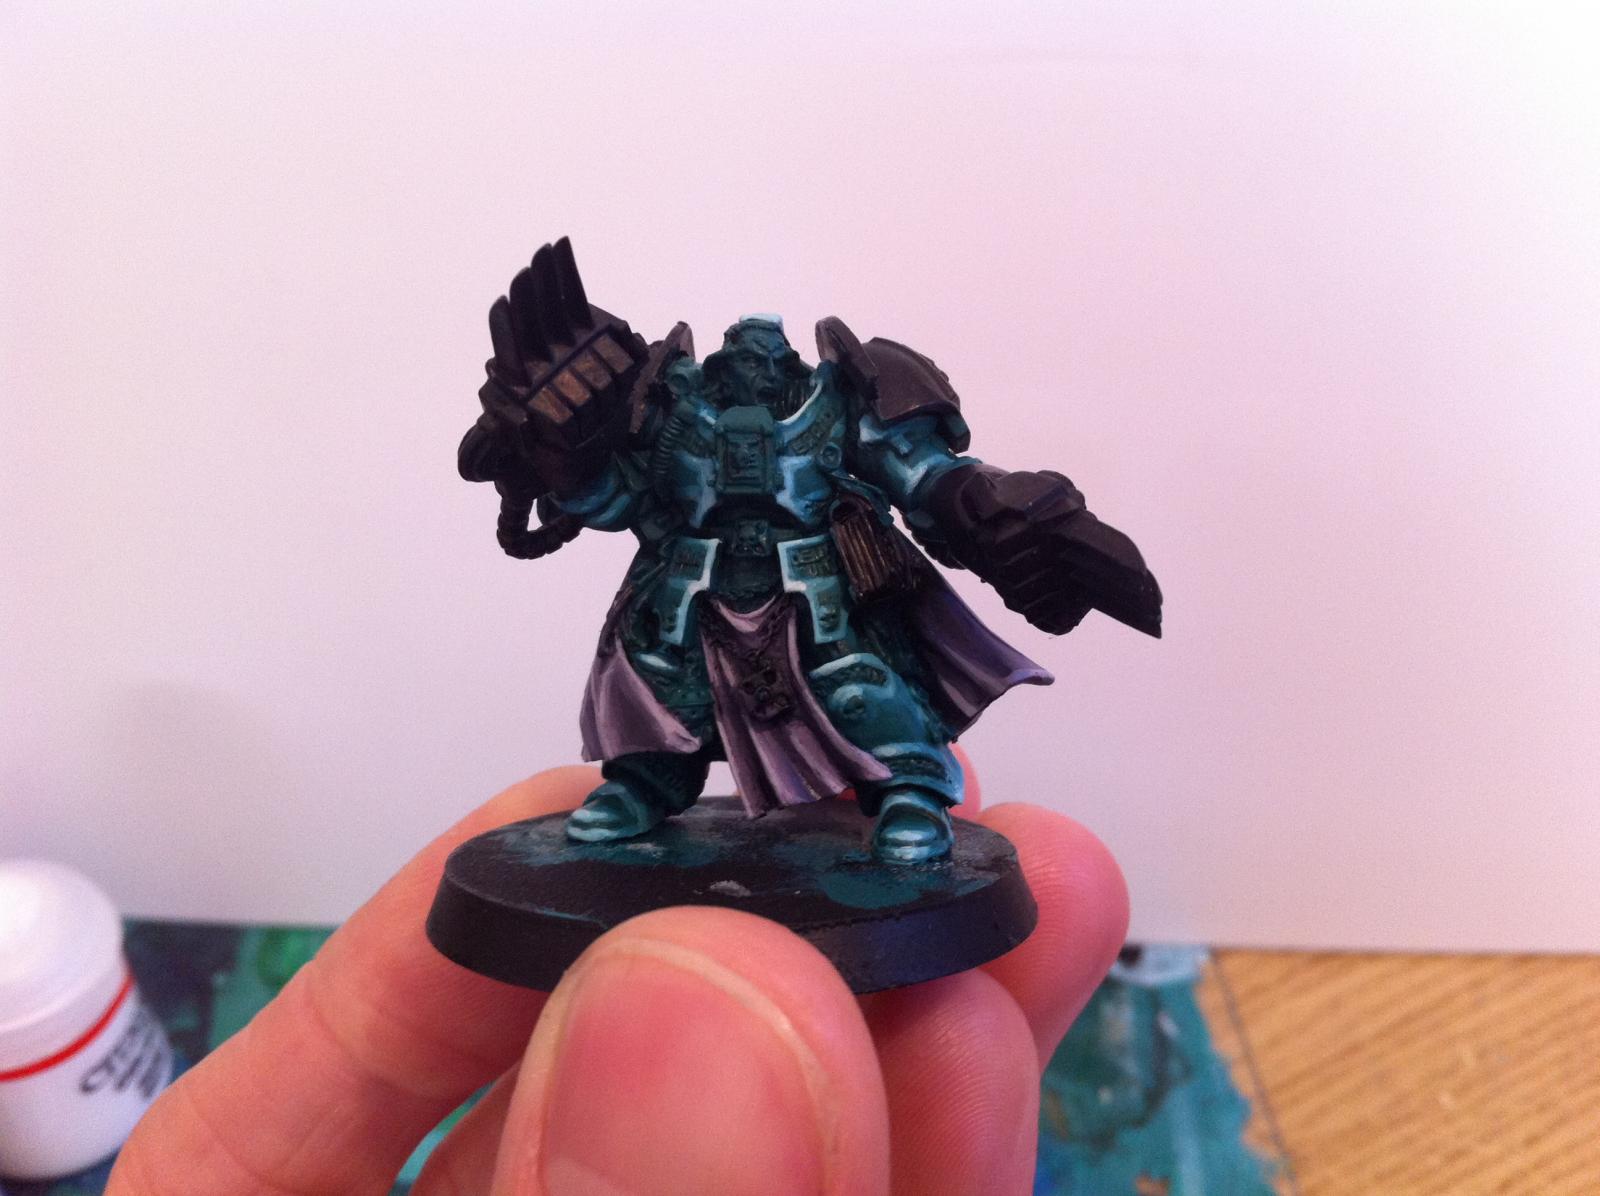
| This was the photo we all saw a little while ago. I was very pleased with how this came out - I used a mixture of NMM and metallics for the metal, the book I redid as I highlighted up a bit to bright. Since this is a quite old model, the skull and =I= on the chest piece lost a bit of its detail over the years, shame but I tried to fight through it. |
 |
| This shot shows how I do my "parchment / scrolls" quite well - I use either Catachan Brown (the foundation one, I forget its name) then build up, using either Deneb Stone to Bleach Bone or straight to Bleach. I'll also use Bestial Brown as a base. I don't use washes on these as I don't feel you need to, old school highlighting does the trick for me. |
 |
| This shows the metallic effect a little better - I used it on the other shoulder as well. Here I am using washes. I'll base it tin bitz, and then throw in a badab black wash, come back with a burnished gold/tin bitz mix highlight, re-wash again with waterey black and dev mud, and back over lightly with burnished. Finally, select parts will get a touch of mithril silver to give that worn down / reflective look. Silver is a great highlight for metallic gold. |
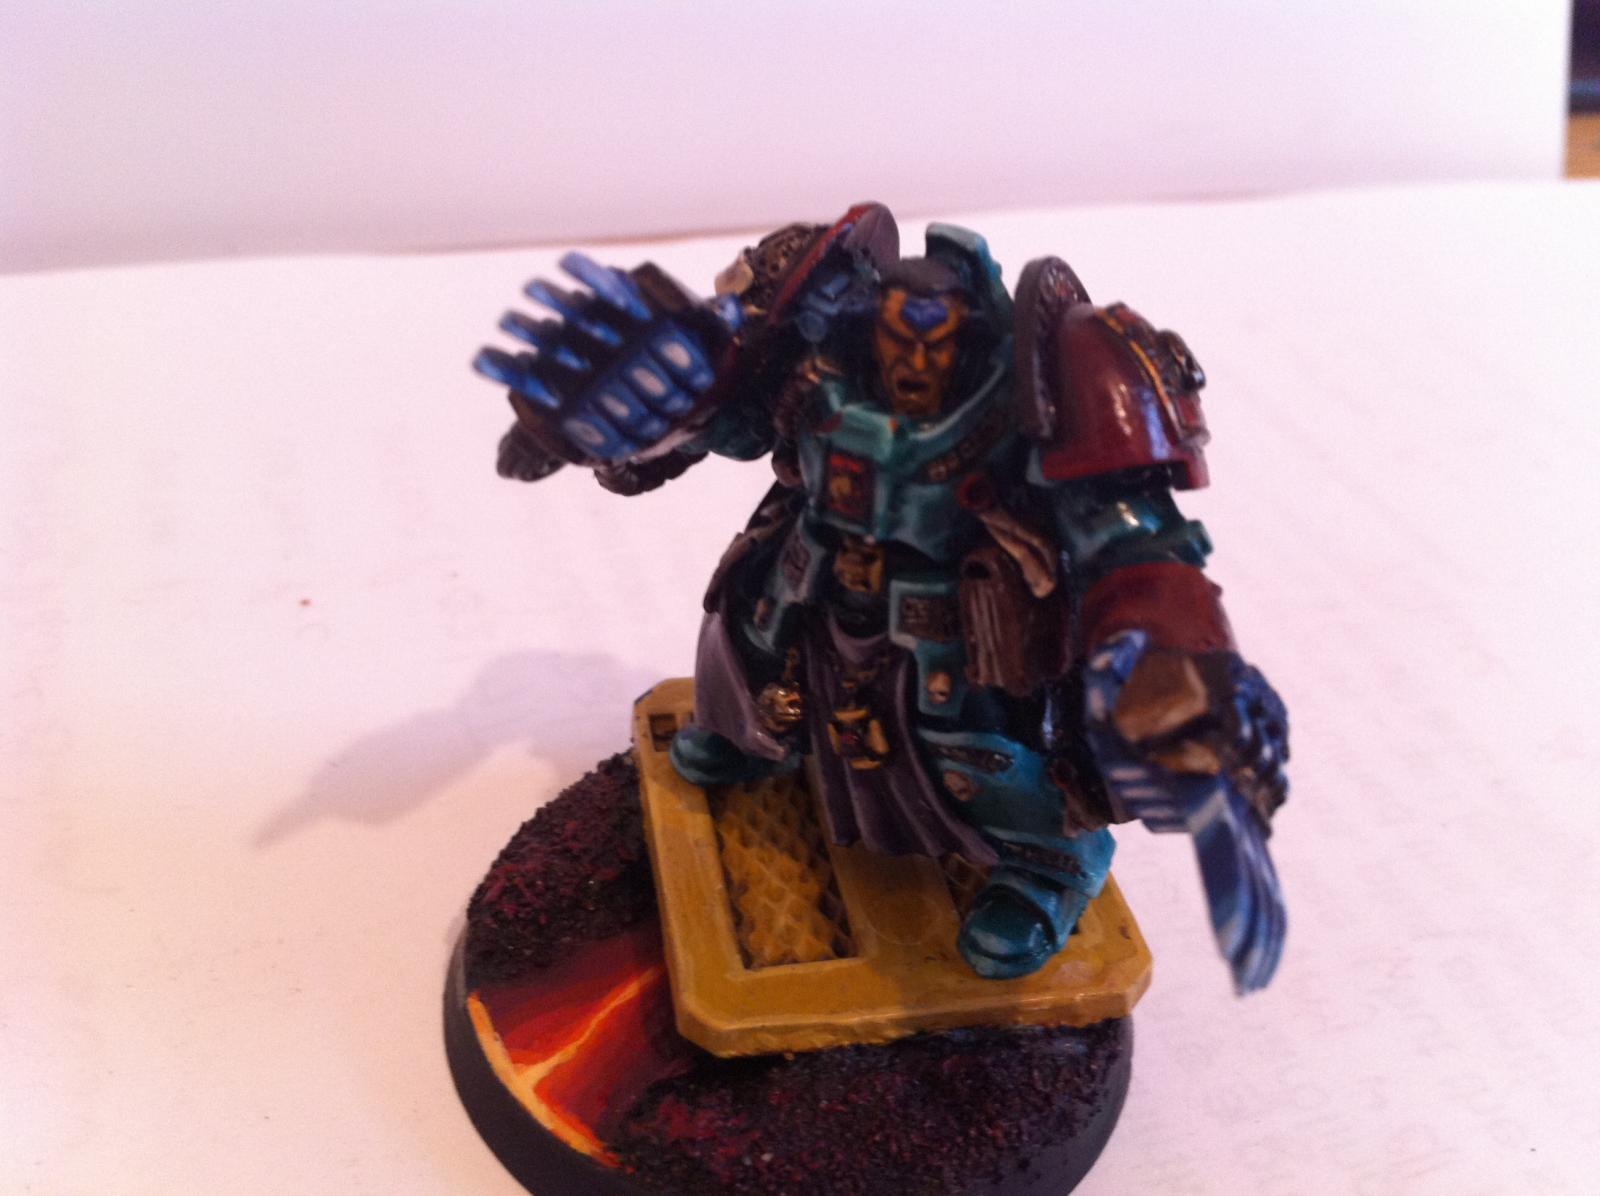 | ||
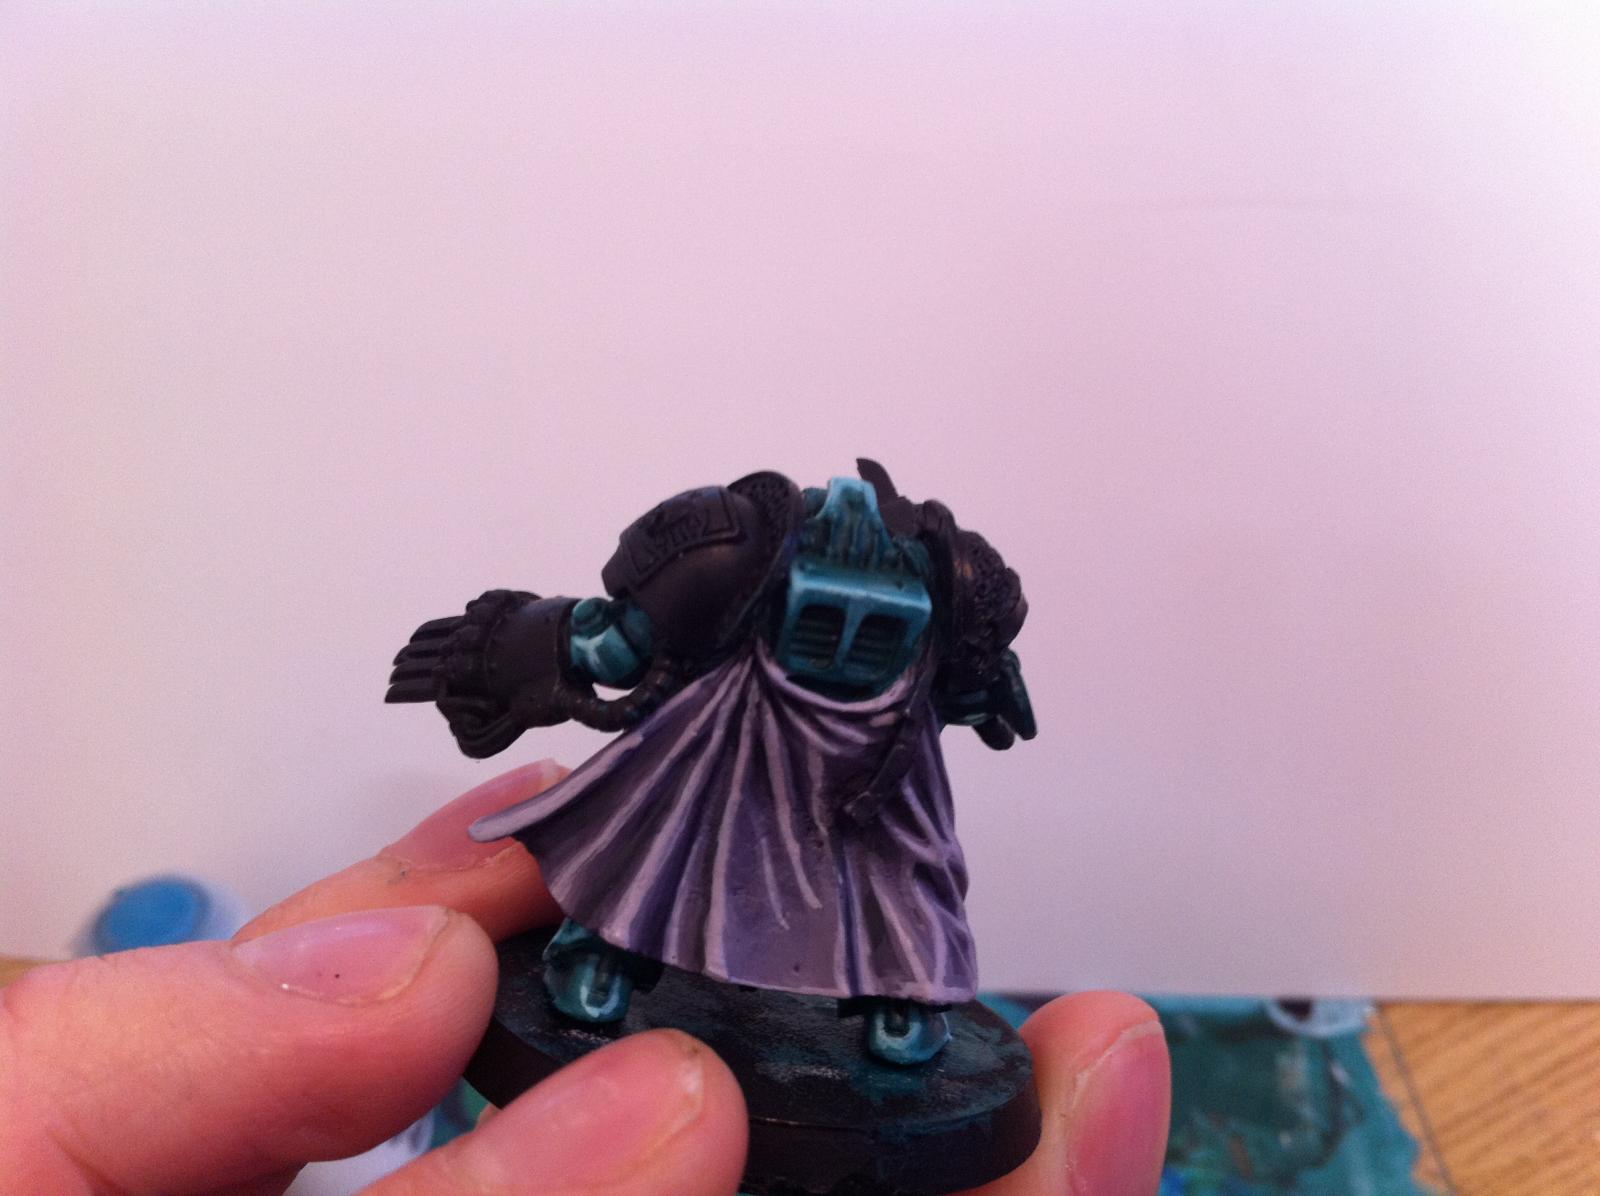
| Really not all that much added at this stage. I've used a similar metallic effect on the lightning claw "fixings". I started a glow effect on the LC's themselves, but didnt get a chance to apply the glow to other parts of the armour - I hopefully will get a chance. The face was decent - but I want to add a final highlight to this, as well as add some more details. The LC's I want to add some embossing to the red area and maybe to the shouler pads as well. |
 |
| You can see the base quite nicely here - I've gone for a much better blend on the lava, tried to create a bit of shadow on it, and smoother transitions. I built this base up a bit - there is green stuff under that door as well - as the old metal GK's are much smaller - I wanted to raise him. I really should have added a bit more . |
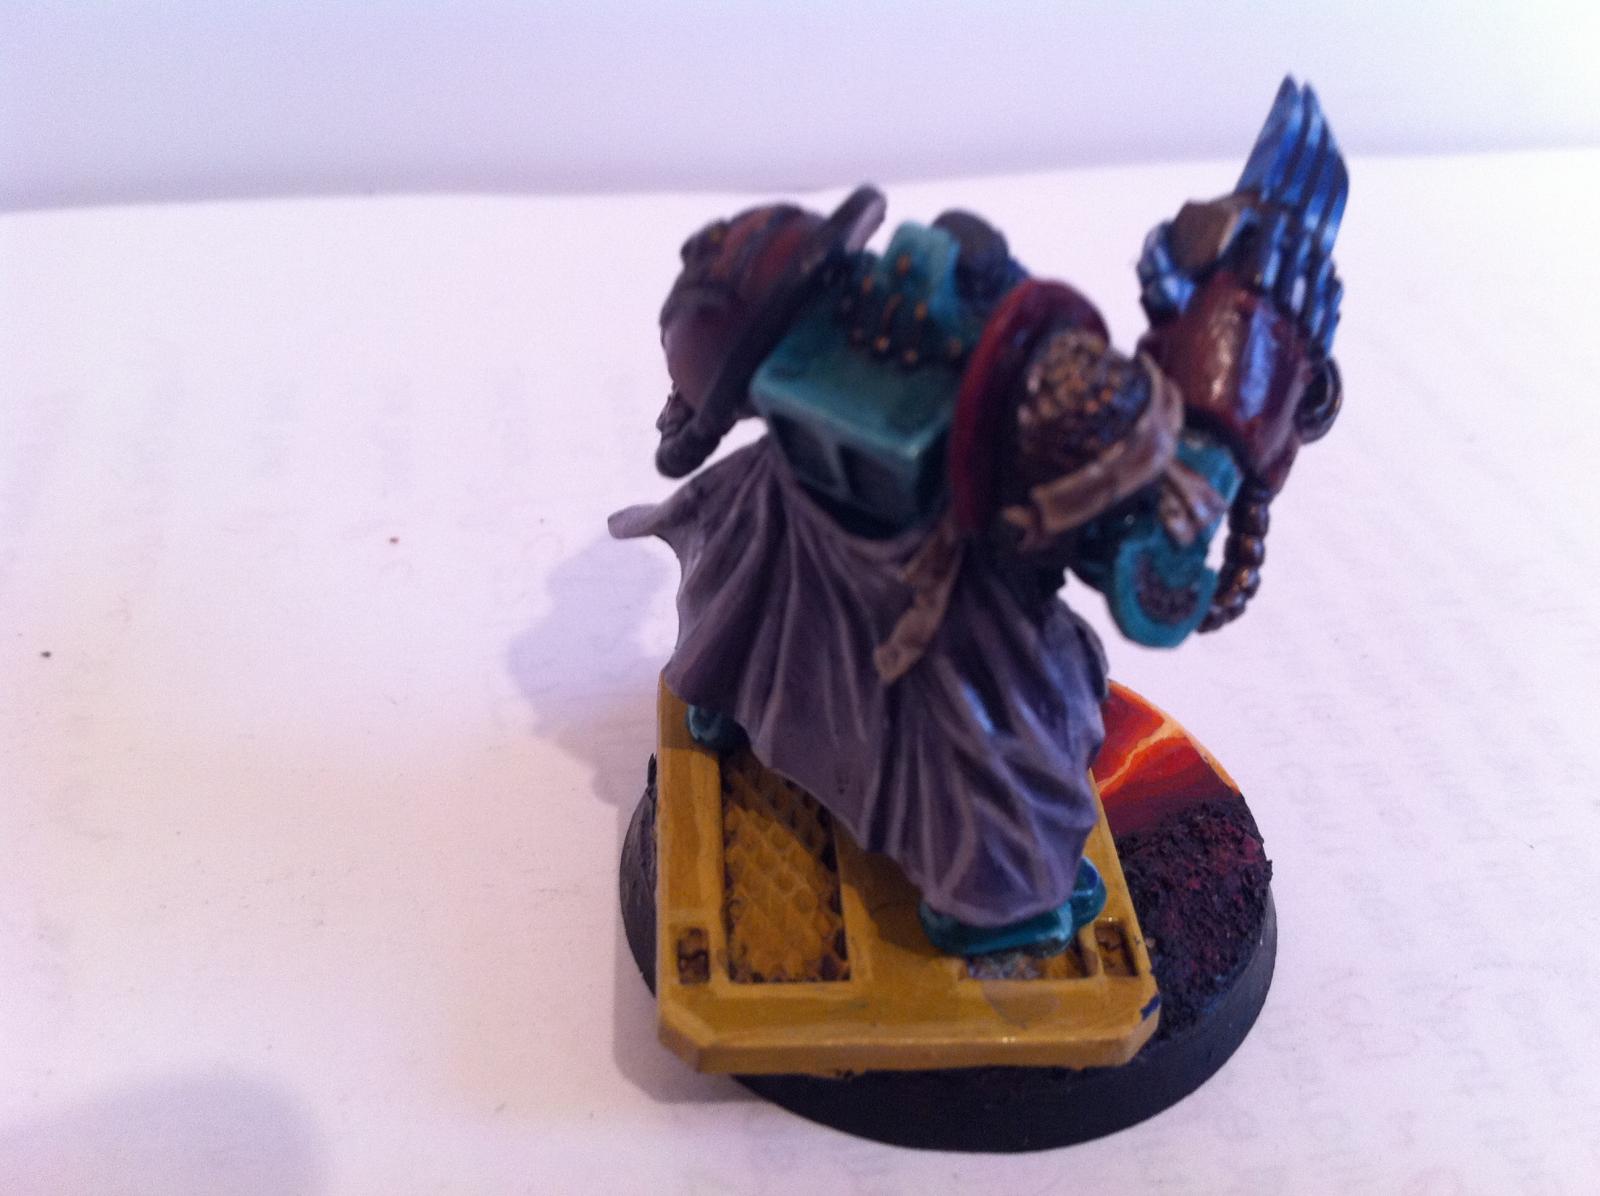 |
| Final picture. Shows a bit more of the claw. |
Objective Markers:
I had a thought over these guys right from the start, and I was never quite sure how to execute it. My original idea, and something I still want to do, was either having "hero's" or "villains" of my chapter up on stone plinths with some weathering / moss growth and all that jazz. Unfortunately, its a lot of time and effort - short of doing the "bunch of straws with a circular base on top" method, and again, time to practice both stone effect and weathering were both against me. In the end I just got hit by inspiration after playing a test game with my Deathwing versus one of our (mine and Atreides) local demon / logan wing players - looking at his flamers of tzeench) he used an incredibly simple effect to paint them, and they came out quite well.
I had the presence of mind to actually take some form of stage by stage here.
First the idea:
Since I was playing a Deathwing army and I loved the fluff for the Disciples of Caliban, I decided to do a small "homage" to them - my army would be hunting The Fallen - more specifically - Cypher, in this tournament. Simply I picked up a box of Dark Angels Vets (btw, probably one of the best plastic kits out there, so much good stuff on it) Fluff wise the fallen dont actually look like dark angels, the DA added the hoods to hide their shame, something most of the fallen do not possess!, but these were to be ghostly apparitions/visions on the battle field, since Fallen were rarely seen - so I could model them any which way I wanted!
Stage One: Actually making them.
 |
| See what I mean about faceless? Excuse the blur. Simple job with an x-acto blade, some green stuff, and maybe some plasters (the blade didn't slip, honest!) |
 |
| The 5 bad boys made up. Shame I actually never need more than 3 - but its nice when people at my LGS don't ever have any (I've seen, honestly, an Orc Stompa used as a objective, it was contested by both sides, and the units were like 10"+ away from each other!) |
I modelled them with various bits from my bits box - weapons and the such. I made Cypher "correctly" with the sword of secrets, plasma and bolt pistols - but I had run out of hoods a this stage, and since he was the "stand out" model it made more sense for him to be hatless than the others (who if you look carefully are infact faceless as well).
The "plinths" are simply stacks of sprues I've finished with. Skulls/chests from a tomb kings box (again a great box set for basing, you get like 20+ skulls in there - worth the price alone imo)
 |
| Close up! |
Stage Two: Simple White Base Coat
Stage Three: The wash!
And now for the easiest (and some what tricky at the same time) paint coat ever. A thrakka green wash. The only thing is to be careful to not be to heavy with this out side of the recess's - as it doesn't leave the best effect there. Once dried I went back and added a second bit to some of the deeper recess's - and used a white "glaze" (skull white watered down) to highlight some of the extreme area's / clean up - some bits got a pure skull white addition.
 |
| This was my "worst" one - I was way to heavy with the wash here - didn't add quite enough water (if any probably) to this. You want it fractionally lighter than this - but you can see how simple it is. Liberal coat is still good. |
 |
| My ghostly Cypher. |
For the rust - this was quite simple in the end, after a fair whack of searching around. First bit - and this is quite a neat trick - when making the model, get some pva glue, mix some sand in with it and then "paint" it onto the metal poles, this will later give that "rusting/peeling" effect that ruined metal gets. Once primed, paint the entire base black - then the metal gets a coat of scorched brown. From this, I just simply add the foundation orange to the mix (or blazing orange will do!) - slowly working my way up while dry brushing - I dont go to crazy - but you can tell once you've hit the right level.
 |
| Completed Ghostly Fallen - they were haunting my Deathwing all Tournament. |
Once thing I regret is actually not adding more texture to the "metal" - I think going at it with a file aggressively (to rough it up) and maybe a bit of a x-acto blade scuffing it, paired with the sand - just so its more rough than smooth works best - and also will give a better surface for the orange/brown dry brush to latch onto.
However, what's great is I now realise this, and its a technique I'll use in the future as well!
THE END!
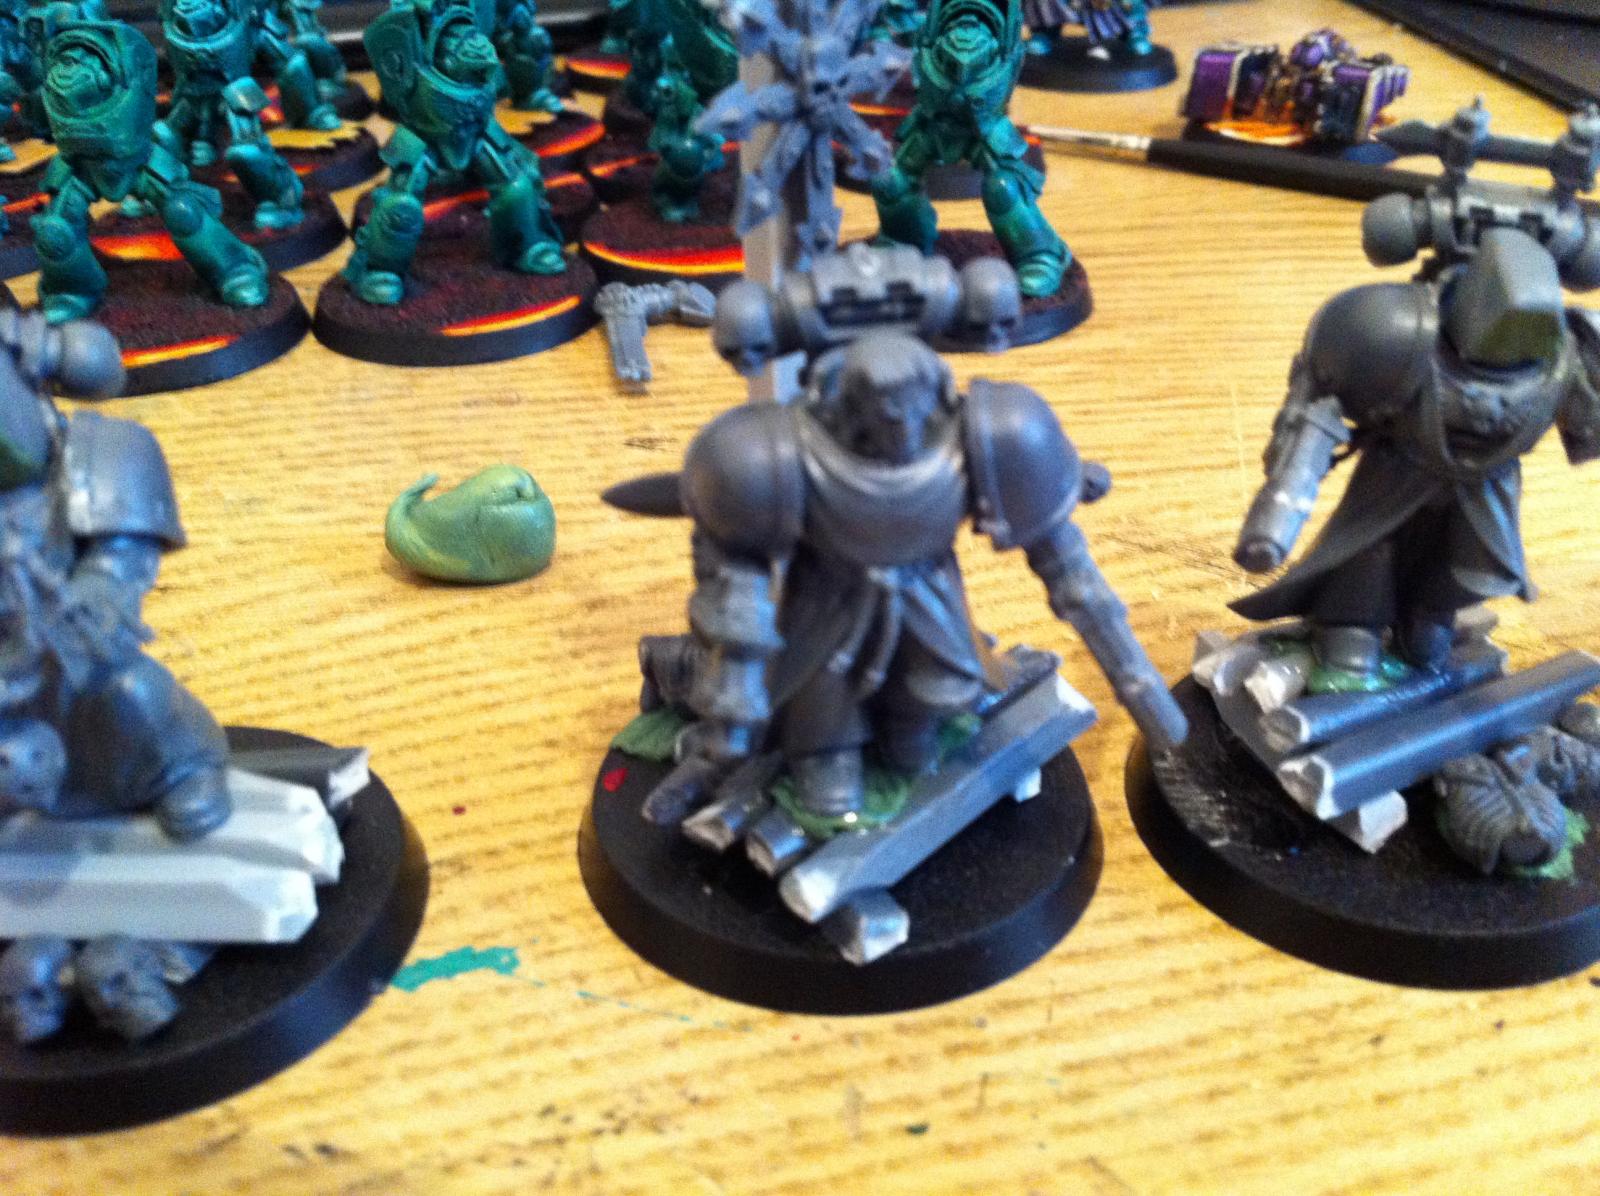
So there we have it - all the units and "extras" covered - what's to come from my work bench? Well quite a bit - I have a large armour division I am working on (few tanks, a storm raven, couple of Land Raiders, few Dreadnoughts) and I need to add a new terminator unit to my Dark Angels to get them up to the 1750 standard (as well as an Inquistor and maybe some henchmen from the witch hunters book!)
When I get back from the States look for my next post to feature the WIP on my tanks and the fun (read: not internet approved) list that I'll be using them with, and an explanation to why!
Also I plan to do some tactical stuff on Deathwing, and maybe some battle reports thrown in, since I plan on using this army for the foreseeable future!
More to come.
Thanks for showing us all that man...Belial looks very striking on the tabletop and those objective markers are great..fantastic looking markers...
ReplyDeleteoops, i glanced at this post more than once and thought it was the previous one!
ReplyDeletegood to see a WIP for this, esp the process for the markers. they look even more striking 'in person'.
lol Andy - fair enough! I did contemplate naming them a bit different.
ReplyDeleteOn the scheme - I plan to knock out my regular marines in that "ghost" effect, as I will be doing new objective markers with a slightly different scheme/setup!
It also allows me to get alot of models on the table top quickly but at a nice standard (I will be doing some flair on them with that said).
Belial's cape is marvelously blended, but the objective markers are what really has caught my eye. I must admit, they remind me of, of all things, the Army of the Dead from "Lord of the Rings", but then again, your Fallen were supposed to be ghostly.
ReplyDelete